Creating a New Wallet
Learn how to set up your Xell Wallet with our video tutorial or follow the step-by-step instructions below.
Watch the Video Tutorial
Follow our quick video guide to set up your wallet in minutes.
Step-by-Step Setup Instructions
Use these detailed steps to setup your wallet manually.
- Open the Xell Wallet web application or chrome extension.
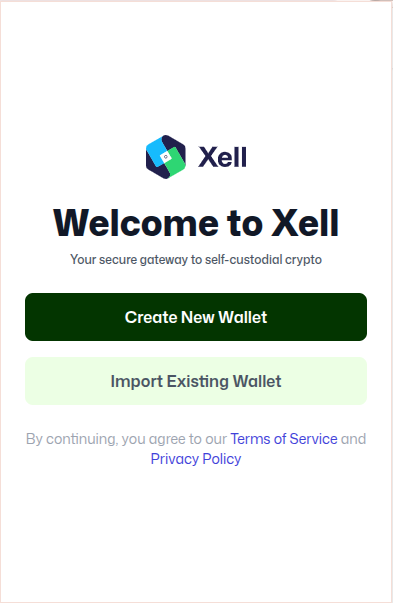
- Select Create New Wallet.
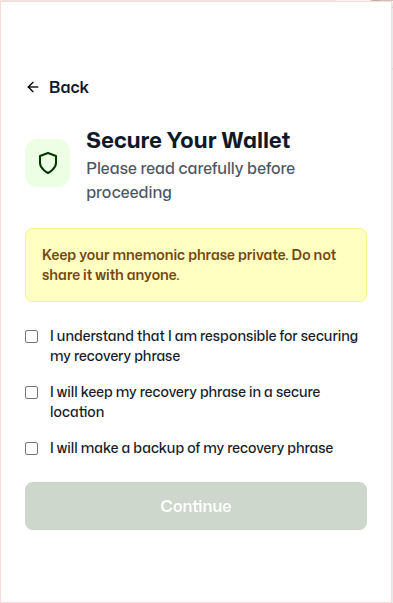
- Keep your wallet securely :
- Tickmark and follow the below instructions
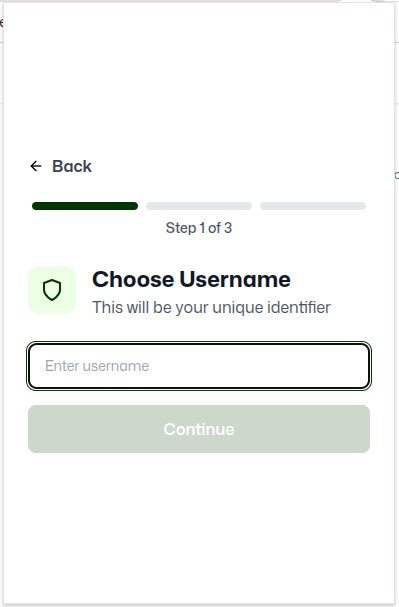
- Choose a username :
- choose a username for your xell wallet account.
- Set a Pin:
- Choose a strong pin. This pin encrypts your wallet locally and is required for access.
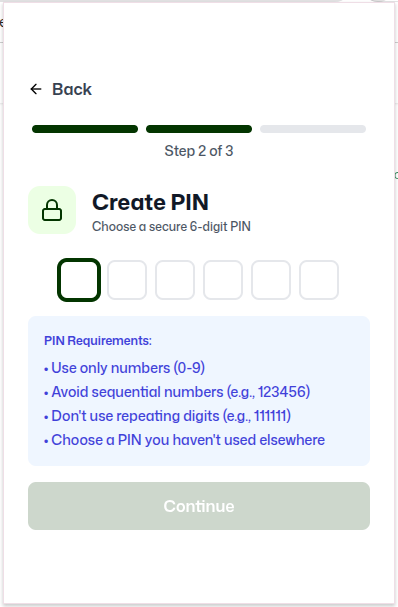
- Confirm your pin again for surity
- Connect to Required Network:
- Select the Rubix mainnet, testnet (for faucet RBTs), Trie mainnet, Trie Testnet or any other custom network.
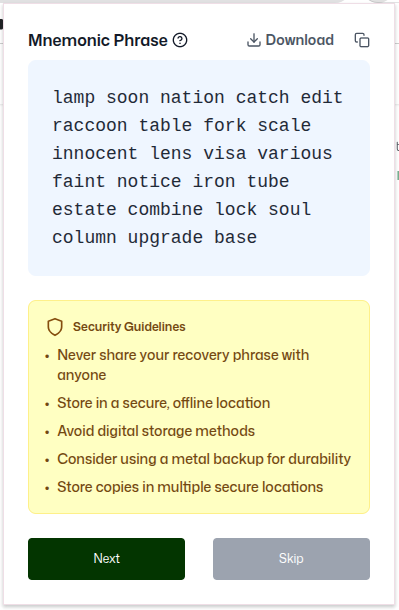
7. Receive Your BIP39 Mnemonic Phrase:
- Xell generates a 24-word mnemonic phrase (As per BIP39 standard).
-
Download the phrase and keep it securely, or write down the phrase in order on a and keep it in a secure place.
-
If you click on "Next", Xell will prompt you to re-enter the mnemonic words to confirm accuracy.
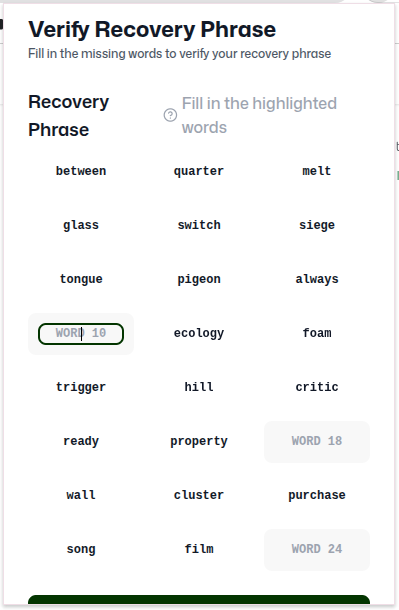
- If you click on "skip", you can see the dashboard of the wallet.
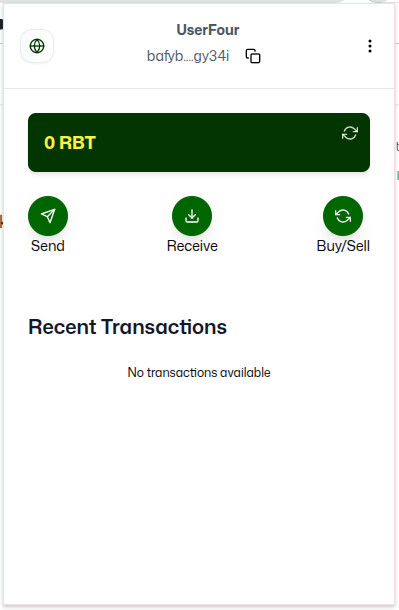
8. Dashboard:
- You are on the Xell dashboard. Your Rubix DID looks like : bafybmia4h5s22arqoo5vamovc5b6lnlrxtv7qtmw7ypo6pdeb3uhmgy34i
9. Settings: In the top-right corner of the Xell interface, click the three-dot menu to access key options. Select Settings to customize your experience:
- Auto-Lock Timer: Set a preferred duration for automatic locking to secure your account.
- Change PIN: Update your PIN for enhanced security.
- Log Out: Sign out of Xell when needed.
- Currency Preference: Choose your preferred currency from the supported options: US Dollar (USD), Euro (EUR), British Pound (GBP), or Japanese Yen (JPY).
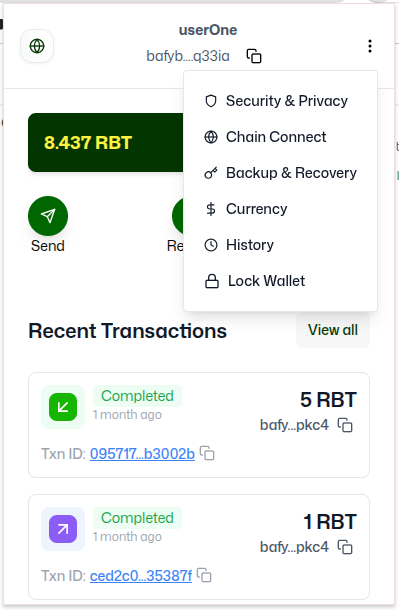
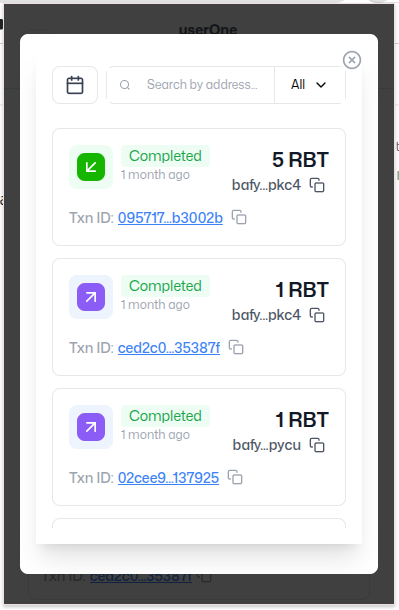
10. Transaction History: On transaction history page you can view all your past transactions. You can also view your transactions within a particular time period by filtering out the dates.
